
Our second semester is slowly coming to an end. As we moved on from treating metals we entered the world of historical and archaeological organic and inorganic materials. By far we worked with ceramics, glass, bone, waterlogged leather and wood.
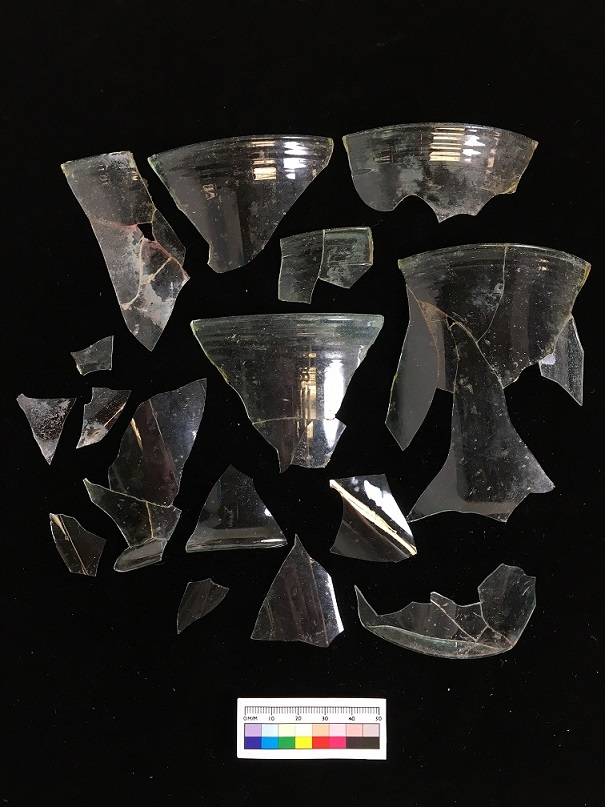
My recent object came from the site called Dibsi Faraj which is located in Northern Syria. The site was excavated in 1972-1974 and it appears to be Late Roman/ Early Byzantine. My glass object was partly re-assembled when I opened its packaging. It is light blue/green in colour and extremely thin! The glass itself appears to be in a stable condition (Fig1).
The initial step was to dismantle the re-assembled shards of the glass because previously used adhesive severely yellowed and seemed very unstable. Also, there was no record of what adhesive was used. To dismantle the glass I experimented with the weakest solvent first, which was warm water. To my surprise joints came apart fairly quickly. The adhesive did not dissolve but only softened allowing me to pull it off the surface with tweezers. It was most likely a type of animal glue. Each individual shard was then gently cleaned with a cotton swab dipped in a cleaning solution.
After the cleaning and drying process my next task was to try and re-assemble the object. To make this process a little bit easier I numbered individual pieces.
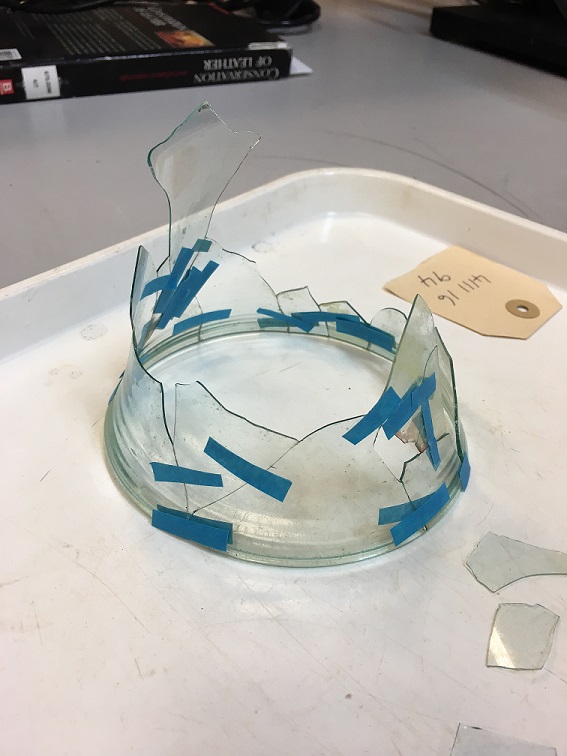
It seemed that the rim of the container was nearly complete so it made sense to start re-assembling those shards first. Initially, I used tape to hold the pieces in place so I could see how many other pieces can be re-fitted and what would be the best order of reassembly (Fig2).
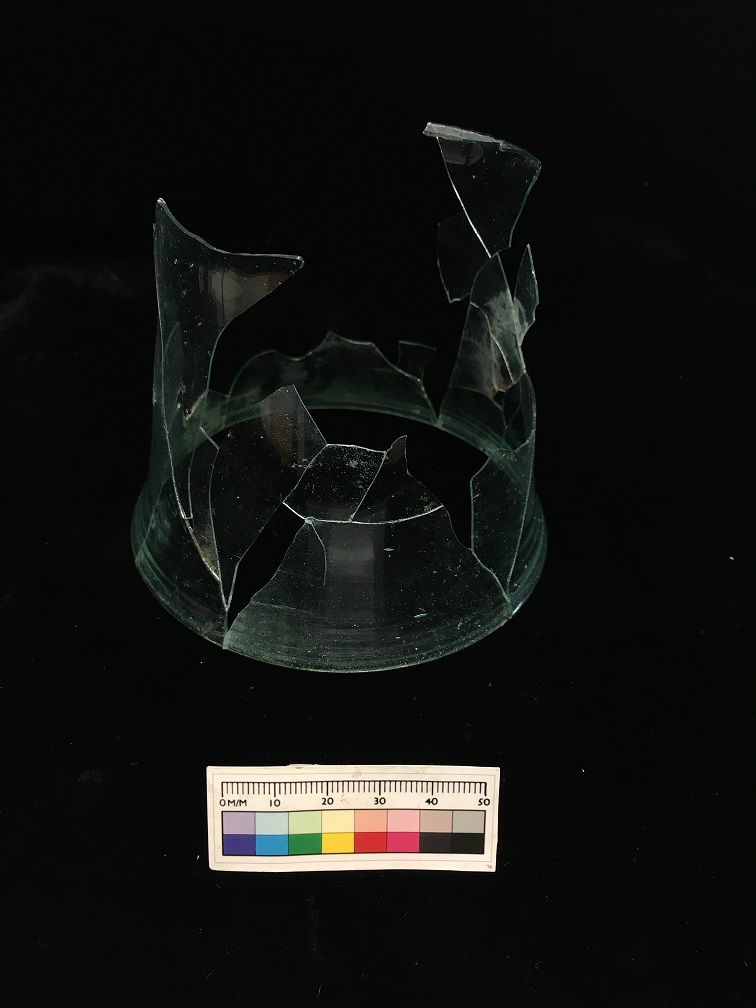
After several hours and advice from Vicky and my classmates I have successfully matched nearly all of the glass pieces (Fig3). To my surprise there was a full rim, some body parts and small parts of the base which allowed me to measure the height and the diameter of the container. The newly re-assembled glass container is short and very wide; it makes me wonder what it was used for in the past. Any suggestions?

Although there are a lot of pieces holding the structure together there are few areas of weakness which may need some extra support and so gap filling is necessary (Fig4). I have modelled three pieces of dental wax in places where the object needs extra support the most. I am now experimenting with different filling materials and different methods of making the fills. So far I have made moulds from the wax fills using Siligum, now I need to find the best fill material which will not only withstand the test of time but also resemble the original glass. Further, fills have to be hard, but also slightly flexible so that they can be curved (to imitate glass’s natural curve) and to allow me re-assembling them amongst the rest of the pieces. Very exciting!
Sandra.